Six3Tile Installation Guidelines: How to Stack Panels & Align Corners
Achieving a professional-grade install with Six3Tile panels is possible regardless of your skill level. But there are two important things you should focus on to make it happen – panel stacking (where multiple panels are stacked vertically) and corner alignment (where panels meet in a corner). We’ll cover both of these in detail, so read all the way to the end.
Perfecting Corner Alignment with Six3Tile: How to Tile Inside Corners
When working with subway tiles, aligning the panels in corners is extremely easy. Herringbone tile patterns will require some planning beforehand to get everything aligned.
Aligning Subway Tile Panels and Other Straight Edge Patterns
Six3Tile Shower and Tub Surround Pro Kits come with pre-cut ends for fitting into corners. That’s not the case for Six3Tile Backsplash Pro Kits. If you have a backsplash kit, the first step is to make a cut to square off one side of the panel.
Pay special attention to the pattern on the opposite wall’s tile panel - specifically, how the horizontal grout lines align. You may need to make a small adjustment to the panel to achieve even alignment. A subtle shift can make a noticeable difference.
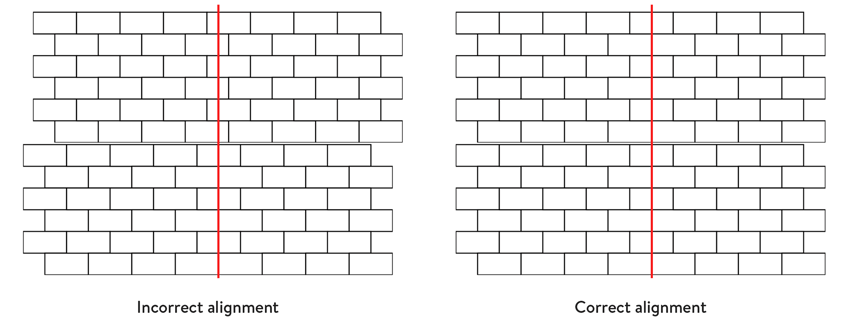
The goal is to make the tile pattern continuous through the corner. If using a traditional 3x6 pattern, you want the tile size to hold true as you round the corner. This graphic illustrates a common error.
.png?width=850&height=303&name=Incorrect_corner(SW).png)
Aligning Complex Hexagon and Herringbone Tile Patterns
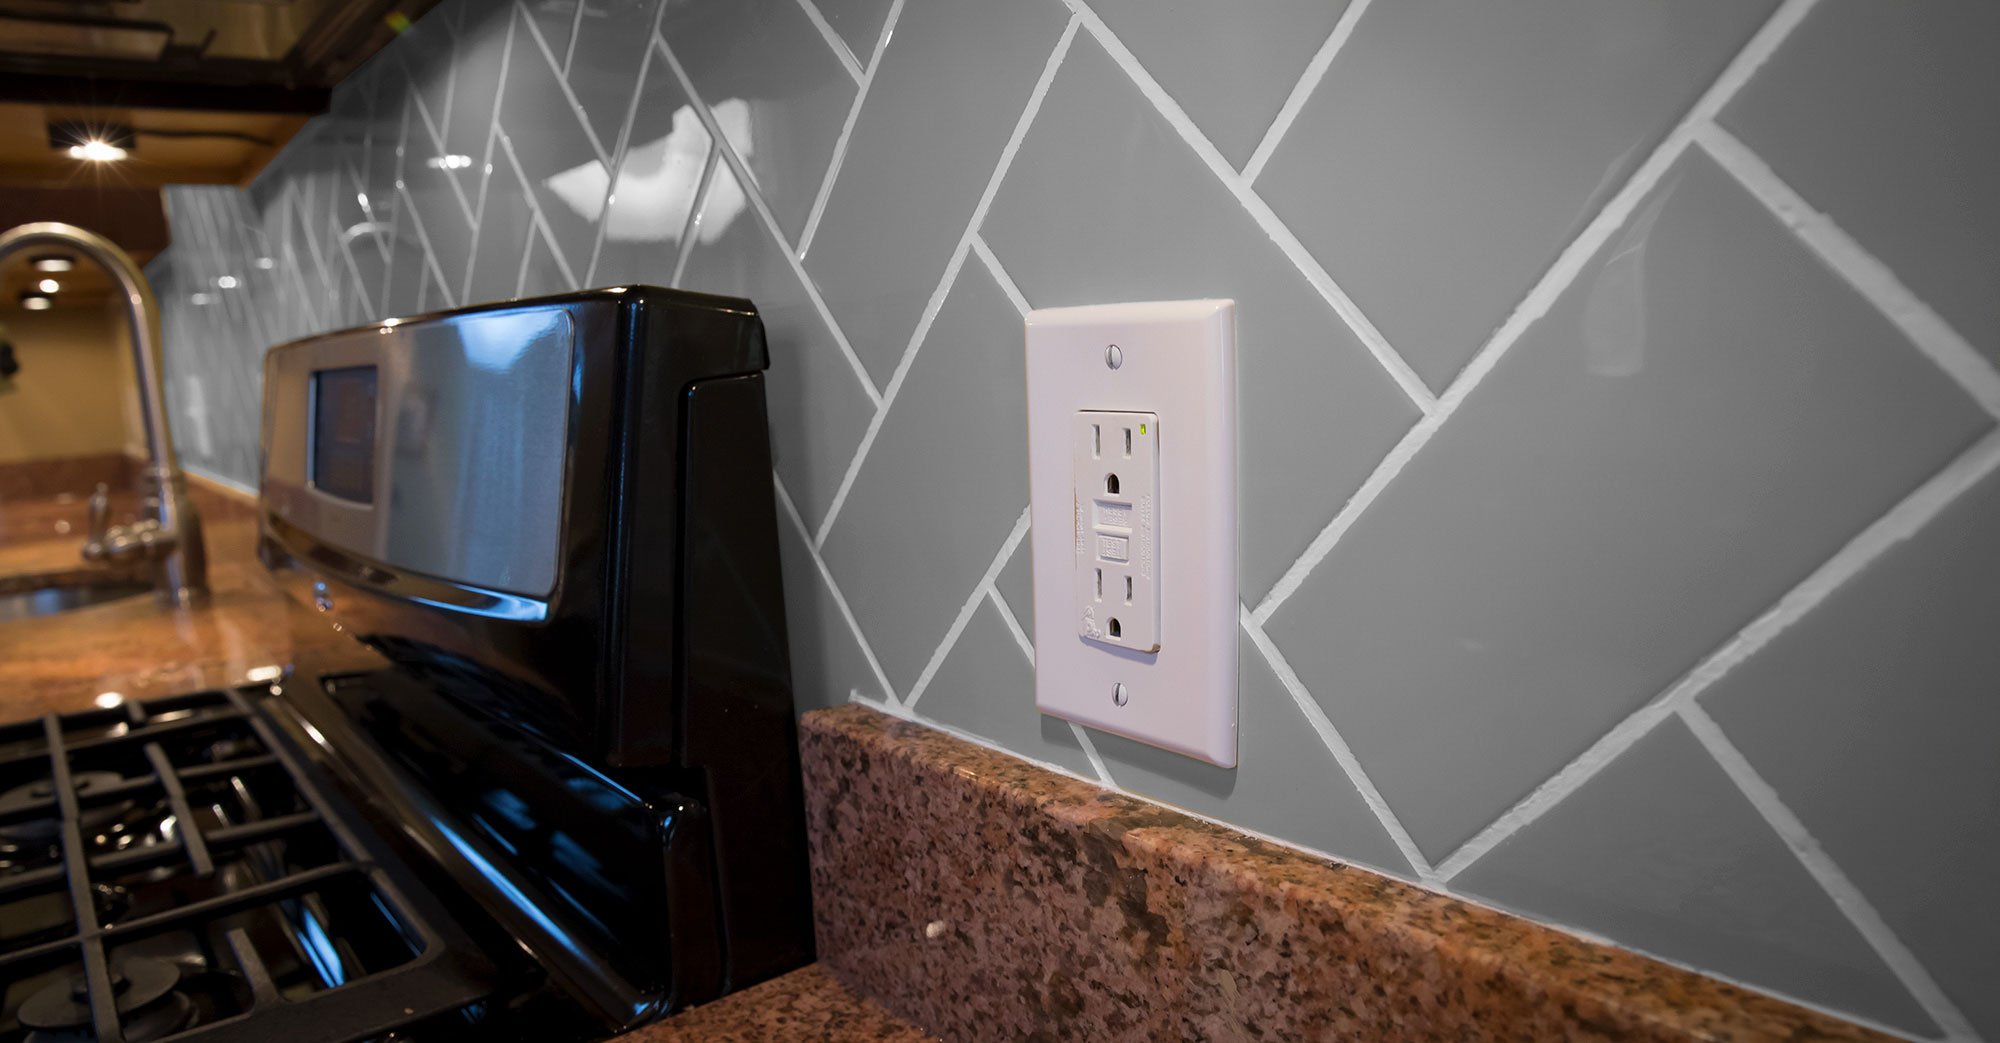
Aligning hexagon and herringbone tile patterns at corners isn’t difficult by any means. You’ll still need to do a straight cut to make a squared end. Just ensure that your straight cut intersects the tile pattern at the right point. If it doesn’t intersect, the alignment will be off due to the mismatch.
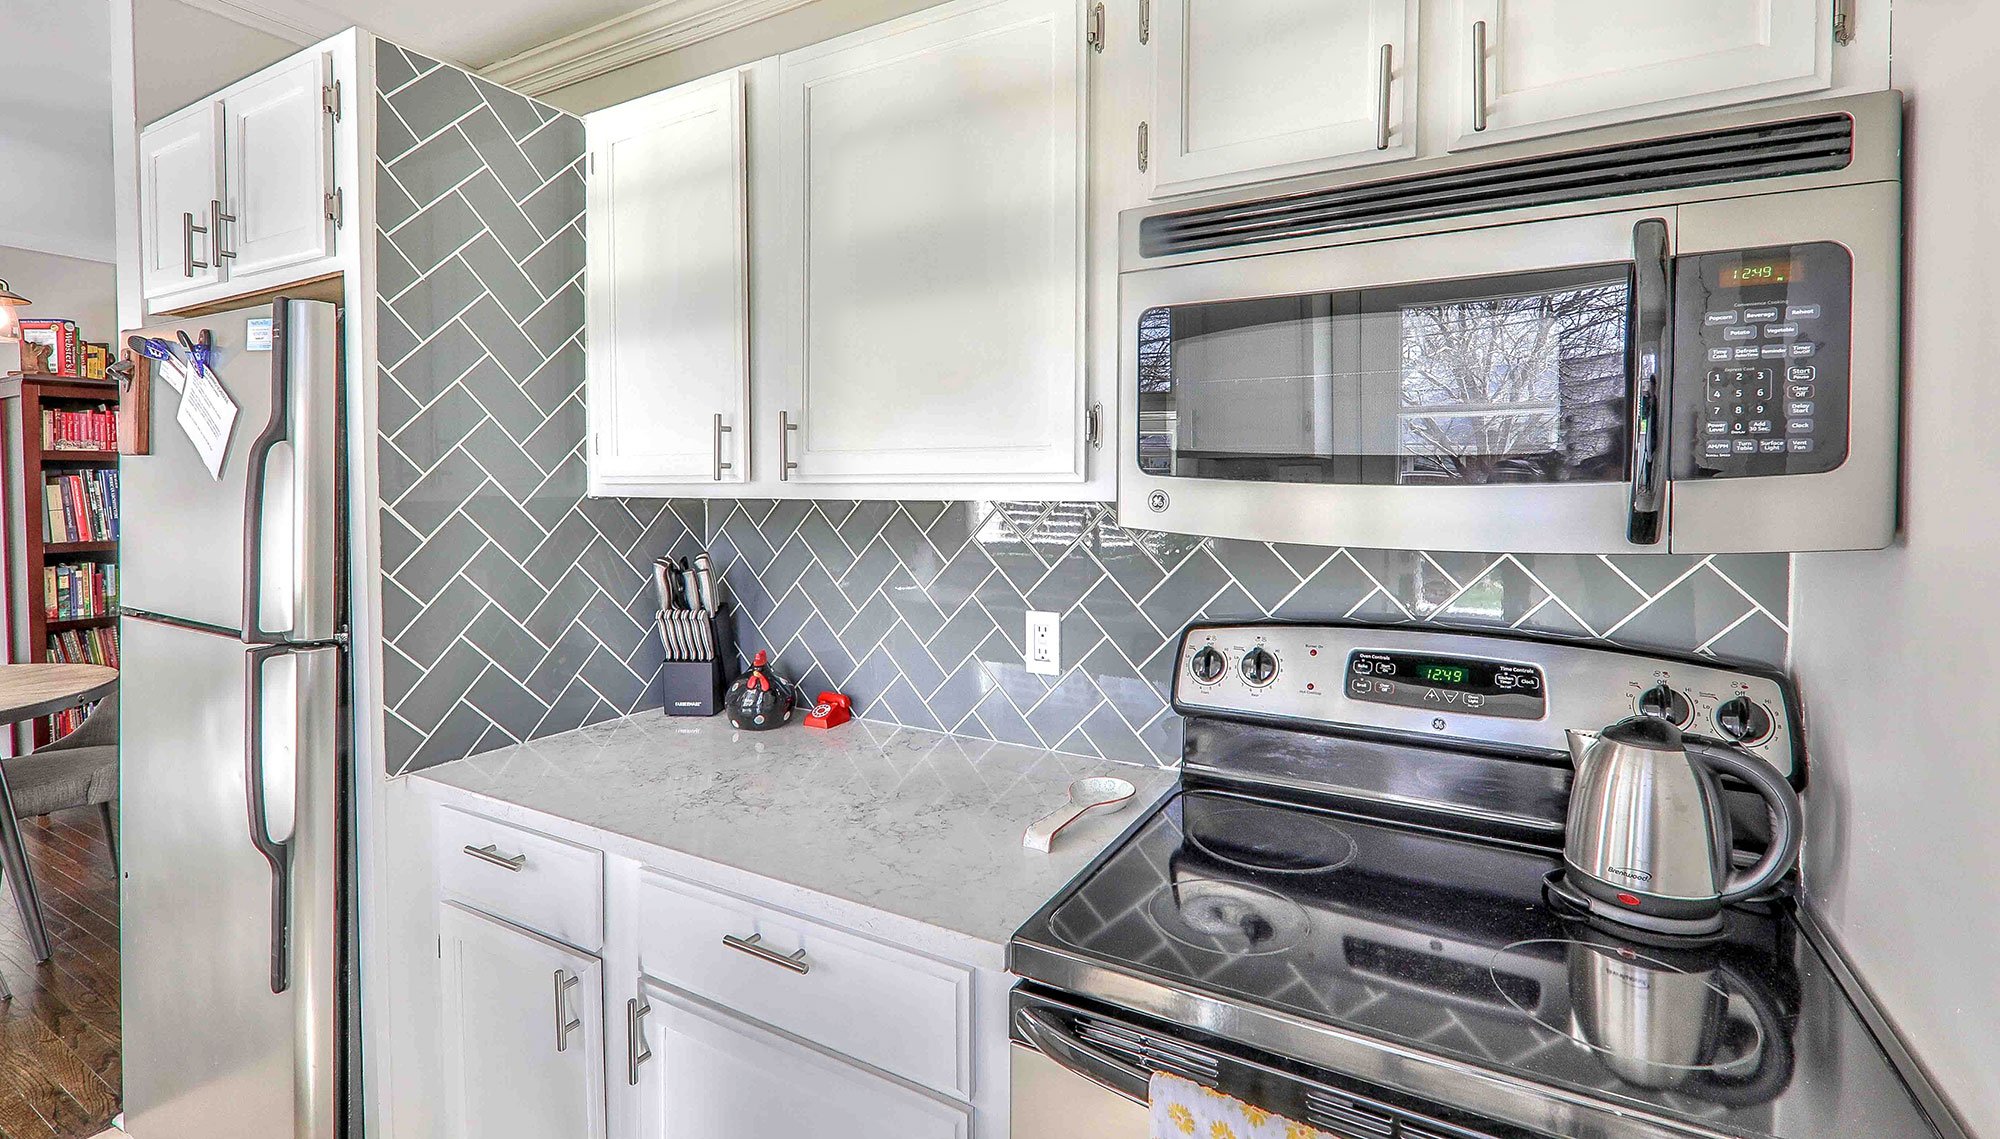
Specifically for herringbone tile panels, you’ll cut two of the panels as we described earlier (intersecting the pattern). But the cuts should be on the opposite ends of the panels. One panel should be cut on the right and the other on the left.
.png?width=847&height=348&name=Incorrect_corner(HB).png)
How to Stack Six3Tile Panels
During a Six3Tile installation, you may need to stack tile panels to fill vertical areas. Common areas where this may be necessary are walls behind sinks and around windows.
Note: This blog does not address stacking panels for wet applications. For that, refer to this blog.
Stacking Subway Tile and Other Straight Edge Patterns
To stack subway tile panels, you’ll ensure that the vertical grout lines on the top tile panel match up with those on the bottom tile panel. Use tile spacers to keep the grout lines consistent. When you eventually grout the tile, the seam between the top and bottom panels will disappear.

Stacking Complex Hexagon and Herringbone Tile Patterns
Though stacking complex tile patterns isn’t difficult, you should be intentional with your cuts. Here’s how to stack tile panels with complex patterns:
- Dry-fitting stacked tile panels will help you visualize what material to cut out. It’s suggested you dry-fit
- the cut panels before using adhesive to mount stacked panels to the wall.
- Look at the top edge of the bottom panel and see which tile segments need to be cut off. Incomplete segments are the ones that should be removed.
- Remove the incomplete segments on the top edge of the bottom tile panel. An oscillating saw is ideal for this purpose. Cut close to the tile’s edge, close enough to remove the grout area.
- Cut the incomplete segments from the bottom edge of the top tile panel.
- Once the dry fitting is complete, begin mounting the panels as instructed in this blog, and stack your freshly trimmed board on top. Use 1/8” tile spacers for uniform grout lines and a seamless end result.
Here is an illustration of how to cut a Herringbone panel for stacking:
.png?width=892&height=299&name=Stacking(HB).png)
So, there you have it – how to stack panels and align corners with Six3Tile. For more information about installing Six3Tile panels, check our in-depth installation guides on Backsplashes and Shower and tub surrounds. You can also browse our website resources, read FAQs, or contact us directly to learn more about Six3Tile. Happy tiling!
-R(150px).jpg?width=100&height=100&name=Six3_box(red)-R(150px).jpg)


